Saturday, December 4, 2021

Rear Logic Display


The rear logic display is put together the same way as the front logic dispalys. There is a PCB, bezel, and a clear plastic cover. I once again used spacers between the PCB and bezel.


Here is the logic display mounted in the dome.


Sunday, November 21, 2021

Front Logic Displays


The logic displays are composed of three parts, the PCB, a bevel that goes around the LEDs and a clear plastic window.


To attach the parts to the resin part I used pieces of threaded rod (actually cut off screws) that I glued into the resin part. 


Here is the resin part marked up for the holes. I carefully drilled these on the drill press. 


I used two-part epoxy to glue in the screws. To keep them aligned while drying I put them through a piece of wood with the same holes drilled in it and then put the PCB on top to assure the alignment was correct. 


I needed some spacers between the bezel and the PCB, but couldn't easily find something the correct size. Instead a got a styrene tube and cut off pieces of the appropriate length to make the spacers.


Saturday, September 11, 2021

PSI

To mount the Processor Status Indicators (PSI) I used a standard PVC pipe coupling. The PCB fits perfectly in these and they have a ridge in the center that will hold the board in a good spot. Also pictures here is the dome panel that goes in front of the PSI. Not shown is a frosted disk that goes on the front. I cut that disk out of a piece of white plexiglass and glued it to the coupling. The edges will not be seen so the cut doesn't need to be very clean. 


My initial way of holding in the PCB was to cut two small rectangles of thin styrene, drill holes through these and the pipe fitting and then bolt them on. 


Some time later I got a 3D printer and used that to print a retaining ring. You can download the STL and original FreeCAD file from here: https://www.thingiverse.com/thing:4948450


To attach the PSI to the dome I used these metal plates I found at my local home improvement store. 


I cut these to length, and bent them to make a L-bracket. I bolted this to the pipe fitting and attached it to the dome with the bolts I built into the dome when I assembled it. 


Friday, September 3, 2021

Dome Lights Part 1

The first electronic elements I added to R2 were the dome lights. I got an early start on these since I needed to figure out how I was going to mount them in the dome. 

There were initially five lighting elements I worked on. On the front are the two rectangular Front Logic Displays and the round Front Processor Status Indicator.


On the back if the rectangular Read Logic Display and another round Processor Status Indicator.


For the lights I used the Teeces dome light system. Here are two good links that describe this system:


On the Astromech.net message boards you can usually find people selling pre-assembled units, our you can buy the parts and assemble them yourself which is what I did. I will cover that more in future posts. 

The blank PCB's can be bought here:


I also purchased the bezels from this parts run:


These were the key components I needed to determine how I was going to mount them in the dome.


Sunday, July 25, 2021

Painting Part 2


A lot of the parts on R2 are a single color, but there are some that need two colors. One example is the angle cylinder. To paint this I started with a primer coat of white. I then roughly masked off the area that will be blue and then sprayed the silver parts. With the silver dry, I carefully masked off the silver, and then sprayed the blue.


I followed a similar process for the ankle details. These need the tab on the end to be blue and also the recessed rectangle. This required some careful masking.


The horseshoes need the inside edge painted silver, so this also required some careful masking.


The power coupling were the hardest part to paint. I started with white primer and then the silver, but it would have been really hard to mask off for the blue. I ended up painting the blue by hand. I sprayed a little of the paint into a plastic cup and then painted it on with a brush. 


Saturday, July 17, 2021

Painting

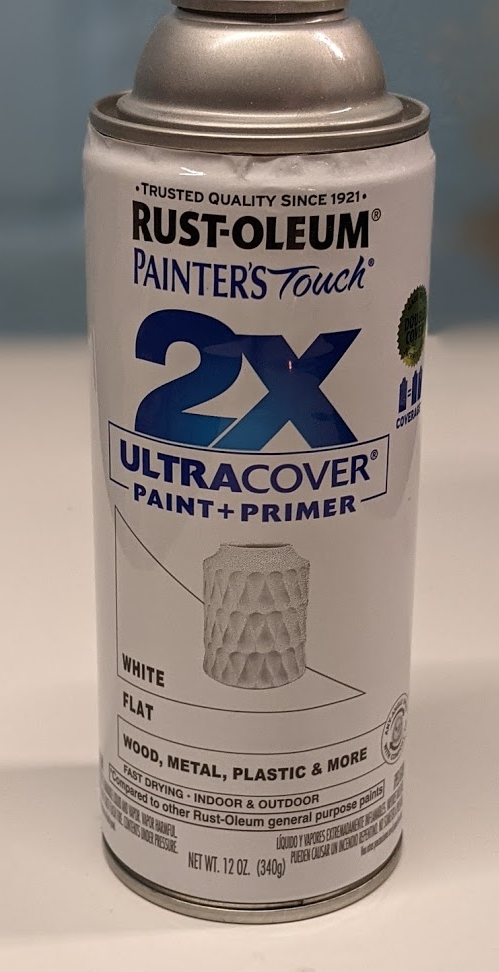
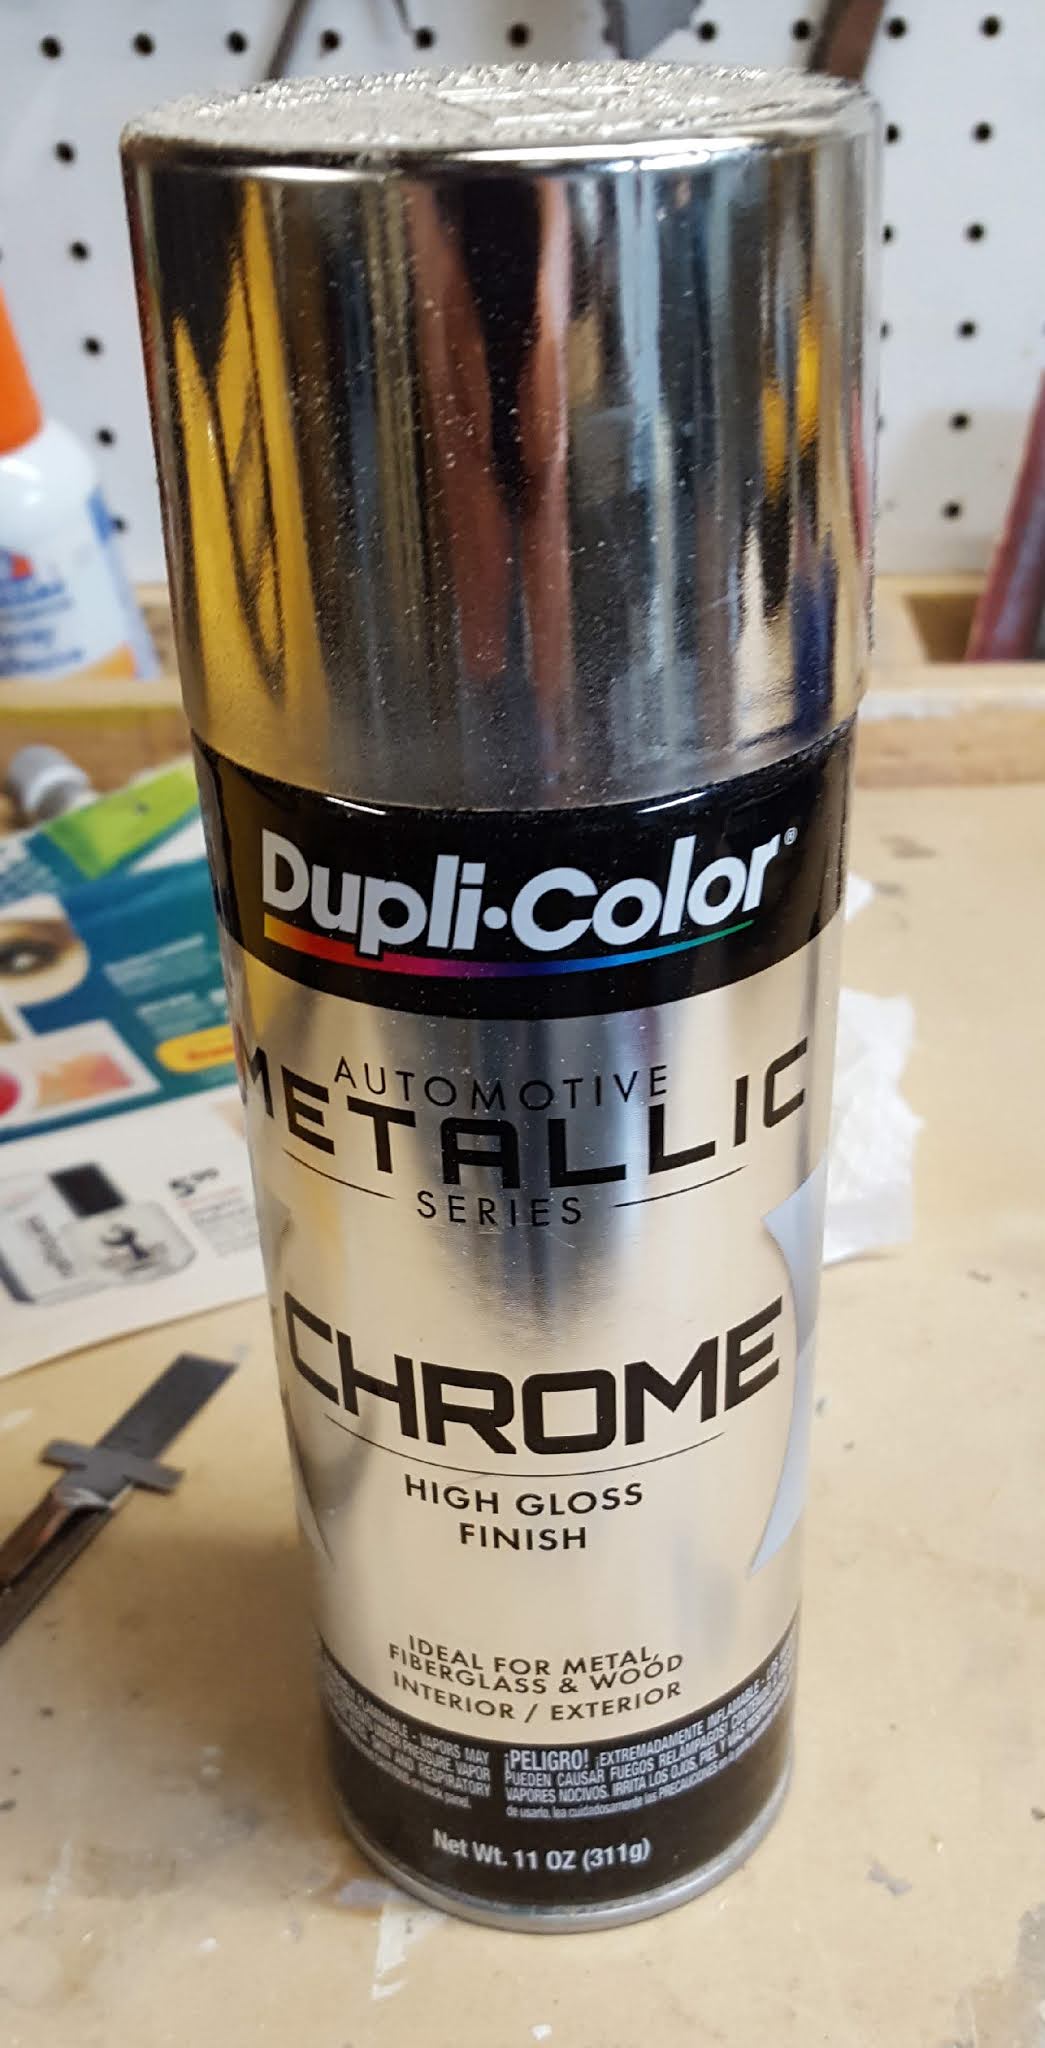
 To paint R2, I used off the shelf cans of spray paint. 

For the white parts, and as a primer for all the other parts I used Rust-oleum Ultracover Paint+Primer Flat White.


For the silver parts I use Dupli-Color Chrome High Gloss. 


The trickiest color is the blue since it's hard to get a good sense of what the correct color is due to different paint jobs and lighting conditions in the movies. I ended up going with Dupli-Color Sonic Blue Pearl.


The Dupli-Color paints are automotive paint and can be found in auto-parts stores. The tricky part with these is that they are very sensitive to humidity. If it's to humid you will get cracking as the paint dries. I ended up doing most of the painting with these during the winter when the humidity was lower. 


Monday, July 12, 2021

Radar Eye

 For the Radar Eye I used a resin casting I purchased online, you can find the details in this post

The back of the part has four casing points on it that needed to be cut off. I did this with a Dremel and then did some sanding to cleanup that back. 


To attach the radar eye to the dome I drilled holes in the back and inserted some screws that I cut the heads off. These were glued in place with epoxy.


For the eye I used a plastic Christmas tree ornament. 


I put some painters tape on the ball and then used the resin piece to mark the size of the eye lens. I then cut this out with a Dremel. Finally I pained the inside of the lens with black spray paint. 


Here is the final product.


Monday, July 5, 2021

Dome Part 2


To assemble the dome I used the Flex-I-File liquid glue. I drilled some holes in the inner layer so they would be under the larger sections of the outer skin and the used the glue in these holes and around the edges to secure the layers together. 


The the bottom of the dome is a band that is painted blue. The tricky part of this is that it is hard to paint once in place, but once the bottom ring is attached there is no way to get the band on in one piece. I decided to paint everything first. Once painted I scrapped some of the paint off the dome ring so it I could get a good glue joint. I installed the blue band and then glued on the ring. 


There isn't much gluing surface on the bottom edge of the dome, so I also added a couple piece of scrap styrene around the inside of the dome to re-enforce it. 


Sunday, June 27, 2021

Dome Part 1

 My original plan for this build was to make an R5-D4 because I wanted to build as much from scratch as possible and I knew R2's dome would be a challenge. Once I got pretty far along with the build I realized that I had to do an R2 and this would require purchasing some pre-made parts. Some people have experimented with "found" items as a dome, but it's hard to find something that is accurate, especially since R2's dome isn't a perfect sphere, it's actually slightly egg-shaped. 

For my dome I purchased the custom made styrene dome from Granite Earth.

https://www.graniteearth.com/ProductDetails.asp?ProductCode=Plastic-Laser-Set

The dome comes in three parts, a laser cut outer layer, an uncut inner layer, and the dome ring which goes between the dome and the body. 

The first step in preparing the dome was to cut out the inside of the dome ring. To do this I used a spiral cutting bit in my Dremel and a cutting guide. The cut will never be seen so it doesn't have to be perfect. The bottom edge of the ring also needs to be trimmed. You can see in this picture how it flares out, that pieced needs to be cut off. I did this carefully with an X-Acto knife.


Here is the cut ring.


The outer dome comes with all it's panel cut out, but still held in place with some small un-cut tabs. I wrote a number on the back of each part and also marked up a drawing with the same numbers so I would know where each piece goes. I then cut out the panels and sanded off the tabs. The cuts on the outer dome had a bur around the edges of them so I had to do a lot of sanding to get all the edges clean.

The next step was to cut the inner dome. I started by using the outer layer as template to mark the inner layer where holes need to be cut. 


These cuts don't need to be perfect since the outer skin will hide them, but I still wanted them to be pretty clean. I started with the Dremel again, but didn't try to cut right up to the line. I then used files and sand paper to clean up the holes.


Before assembling the dome I needed to determine how the details would be mounted on the dome. For most of the details, like the holo-projectors, I drilled holes so I could glue in some small, flat head bolts.


I then counter sunk the holes so the head of the bolt would be flush with the surface. I then used superglue to glue in the bolts. The outer layer will also help hold them in.


Friday, June 11, 2021

Body Skin Panels Part 3


At the bottom of each side of the body are these cut outs that provide clearance for the battery boxes on the feet when R2 is in 2-leg position

 20190330_154147

To cover these I attached a piece of styrene, wedging it between the skin and frame on the sides and gluing it to the base on the bottom.

PXL_20210530_173553981


At the top, I cut a half-moon shaped piece of wood to fill the space between the cut out panel and the skin. I also filled the gap between the outer skin and the panel along the sides with hobby putty.

PXL_20210530_174541126


Friday, May 28, 2021

Body Skin Panels Part 2


Some of the skin panels needs to be cut around body details. If you are using standard body detail parts the template may work ok, but since I custom made the front vents and utility arms I traced the parts to be sure I got a tight fit.

20190316_144522


The utility arms were really tricky since the cut outs needed to be large enough to allow the arms to swing out. This took a lot of fine tuning even after I attached the body panel.

20190406_093704

Sunday, May 23, 2021

Body Skin Panels

Once the two main layers of the skins are installed the next step is the detail panels. When cutting the top layer of the skins I made sure to number all the panels since the cut out pieces can be re-cut to make the detail panels. Here you can see some of the solid detail panels cut smaller to leave that narrow gap around the outside.

20190315_175152


Some of the panels need to have the inside cut out with rounded corners are shown here.

20190428_180328


To make these I started by cutting the panel to the correct outside dimensions. I then laid out the inside cut.

20180812_115203


Next, I made a jig for my drill press that held the pieces in the right position to drill the rounded corners.

20180812_115603


Here is the panel with all four corners drilled.

20180812_115709


From there I used an X-acto knife and straight edge to make the straight cuts. I then used some sandpaper to clean up the cuts.

20180812_120058

These were glued in place using liquid styrene cement and held in place with tape and strap clamps.

Sunday, May 16, 2021

Body Skins Part 3

To attach the inner skins to the wood frame I started by drilling small holes along the top and bottom edge so that I can use nails to hold the skin in place while the glue sets. The outer layer will cover a good part of the inner layer which will hide the nails. To glue the inner layer to the frame I used White Gorilla Glue, https://www.gorillatough.com/product/white-gorilla-glue/

20180616_161835

Since I made each layer in two pieces I glues them in place one at a time, further securing them with strap clamps. To glue the outer layer to the inner I used a combination of styrene glues. I first used the Testors gel glue, which has a longer working time then the liquid, being careful not to go to close to the edges with it. I then used the liquid to tack town the edges.

20190120_142752

You can see where how I secured the skins with strap clamps and other types of clamps any where I could get them in.

20190120_142727


At the seems only a small part of the skin has frame behind it, so I also added some piece of styrene on the back ok the skin to span the seam.

20181230_144434