Early on in my build I decided to try my hand at some styrene work just to see how easily I could produce some of the body details. I decided to start with the front vents, and particularly the vent housings.

The wall of the housing is a little over 1/8” thick. I initially thought it might be possible to bend some styrene that thickness but the curves were to tight. I also tried heating and bending a piece of styrene but that didn’t work either. Bending the 1/8” is probably possible if done right, but I decided on a different approach, building up the thickness with multiple pieces of thinner styrene.
I started by building a form. I cut three pieces of 3/4” thick pine to the rough dimension of the vent and then glued them together to make a 2 1/4” high block. Next I attached a template for the interior size of the vent housing cut from one of the scale plans.

With the template attached I cut the block to the exact size of the template and also cut most of the material on the corners. Finally I used a drum sander to round the corners down to the template and the screwed it to a piece of scrap plywood.

The upper vent is 1.938” deep at it’s largest point so I cut a strip of .03 styrene 2” wide (although in hindsight I would have gone a little wider to leave some room for error) and long enough to go all the way around the form with some room to spare. To hold the first layer together I beveled the opposing edges of the strip so that they overlap and cleanly as possible:

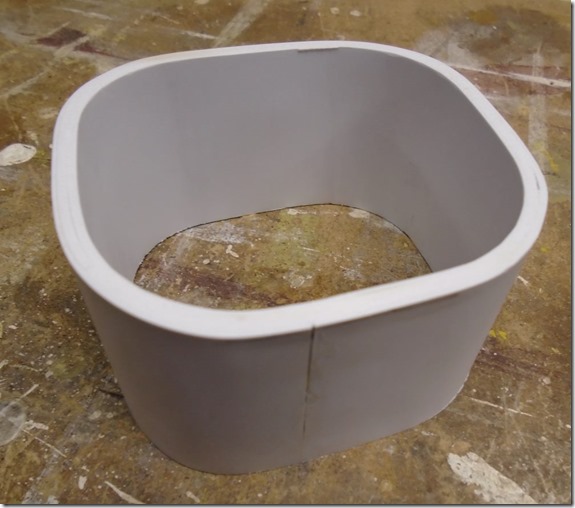
To do this I beveled one edge with a file, wrapped the piece tightly around the form holding it in place with clamps and then marked it for length leaving about a 3/16” overlap. I then removed it from the form and filed the other end. With the piece prepared I re-attached it to the form, holding it in place with some squeeze clamps and finally joined the edges with some liquid styrene glue and then clamping over the seam to hold it together until the glue dried.

When the first piece dried I remove the clamps and left the piece on the form. Next I cut another piece of styrene the same width as the first one. I did not try to cut the exact length on each layer since each one will need to be a little longer then the previous so I just started with a piece that was long enough with a little to spare. To start the second layer I glued one end to the side of the first layer opposite where the other one started so that the seams will alternate from one side to the other. When applying each layer try to keep the piece tight down to the plywood base. The edges won’t come out perfect but this can easily be cleaned up later. Once the first edge has dried I started working my way around the piece, gluing and clamping a small section at a time. Once I got 3/4 of the way around I bent the piece the rest of the way without glue, marked the length and then removed the piece from the form to make the length cut. Finally I put the piece back on the form and glued the end.

I repeated this process until I had built up the proper thickness for the housing . You can see that the final seam didn’t come out perfect but I can probably clean this up with some filler and sanding. You may want to apply your layers so that the seam ends up at the bottom of the housing so it will be less noticeable
To finish the part I sanded the back end of the housing on a belt sander to get it level. Not that the back of the lower housing has a small angle to it, but the upper is square. With one edge cleaned up I sanded the other end to being the housing down to it’s final height. If you left a lot of extra you could start by cutting some off on a band saw. The front edges of the houses is slightly curved. I handled this by marking lines along the side at the final height and the formed the curves on the belt sander.
Here is what the final part looks like.


