Sunday, July 25, 2021

Painting Part 2


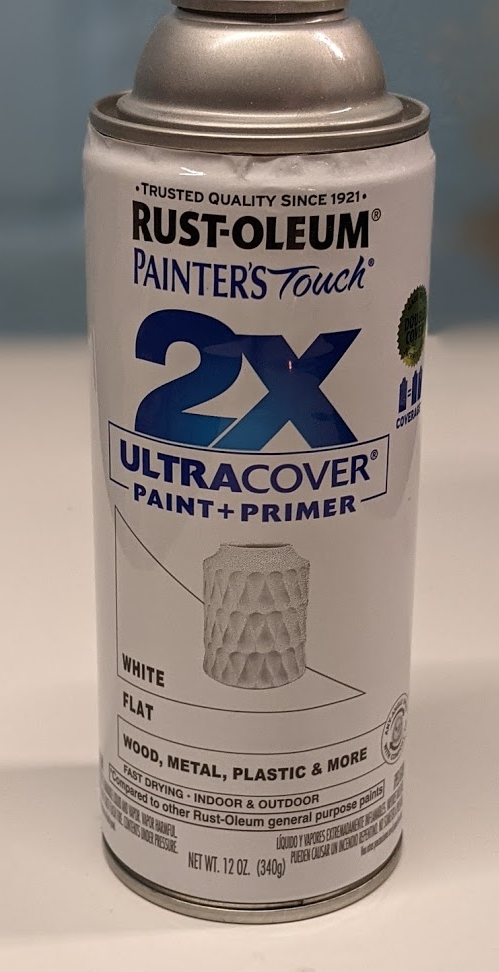
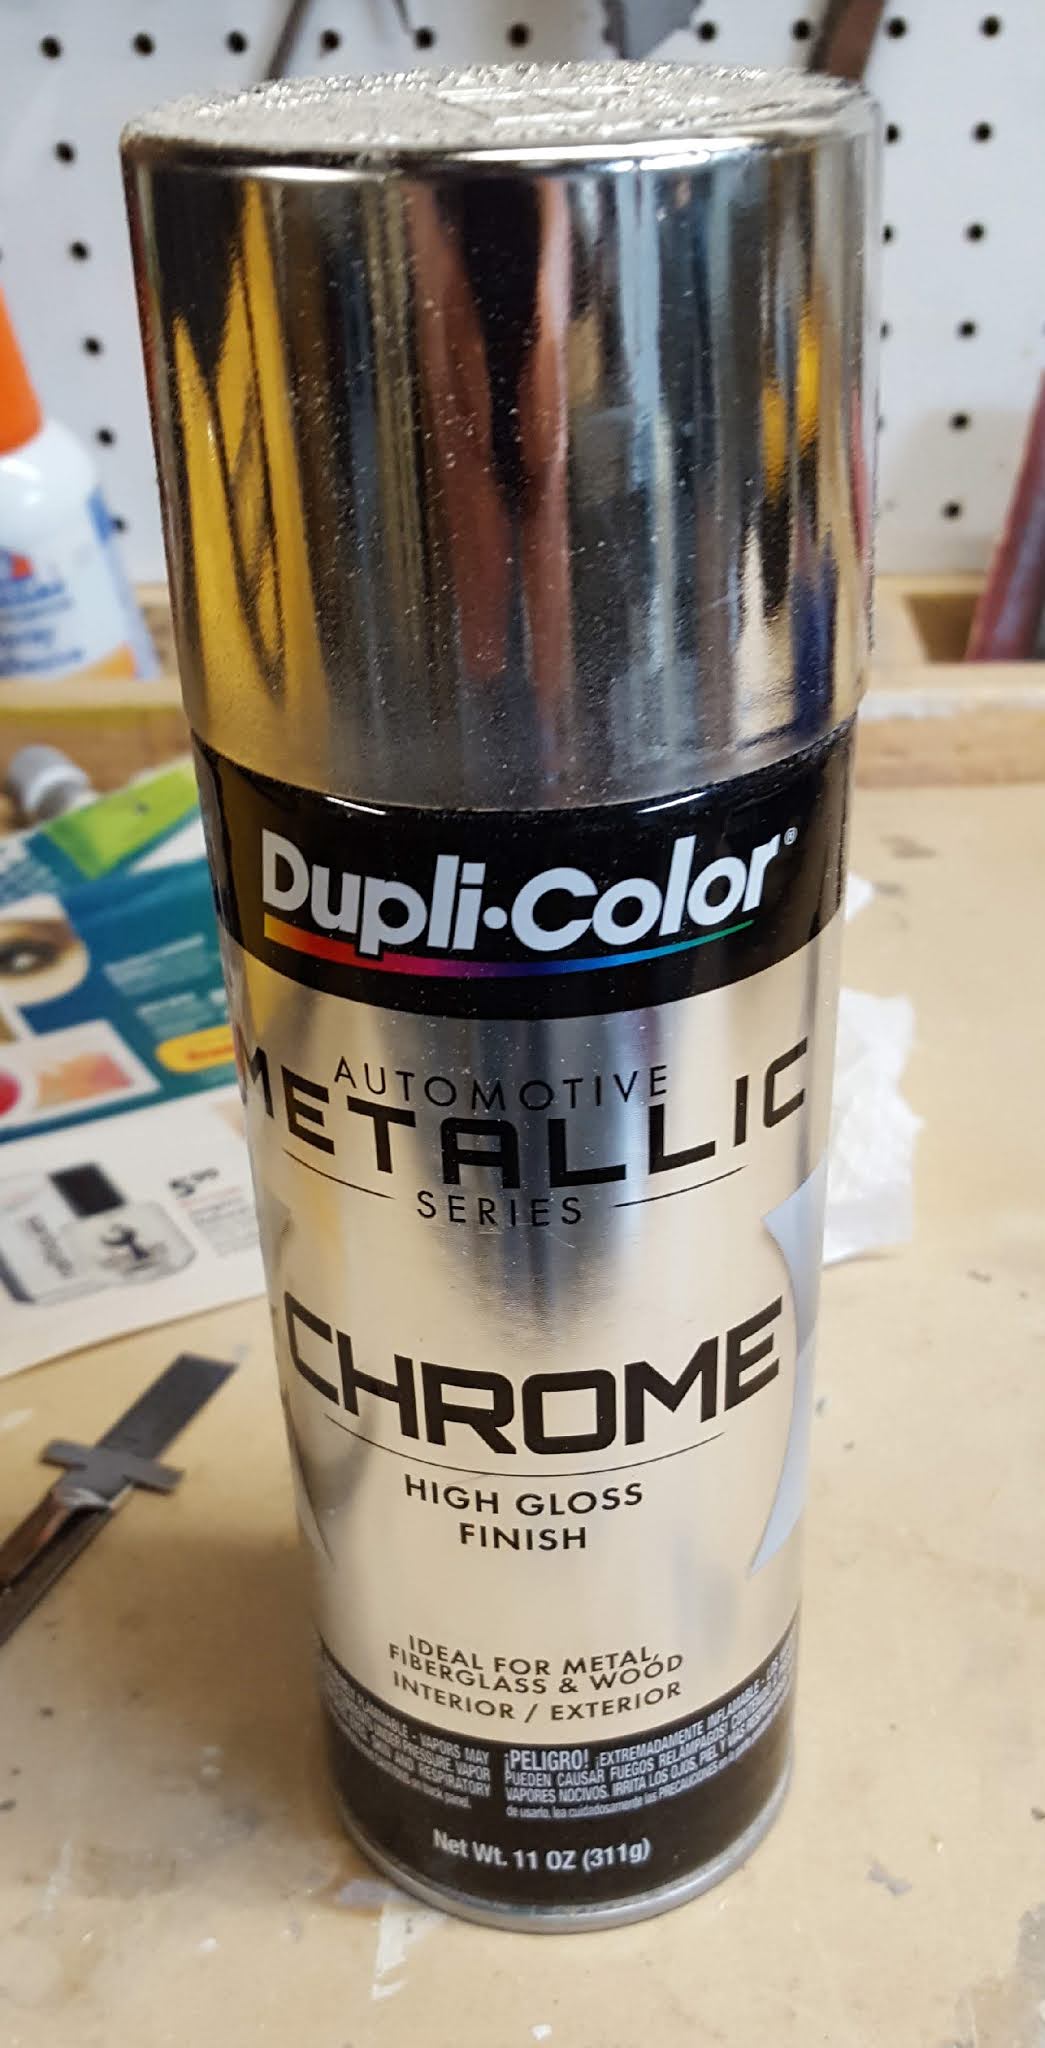
A lot of the parts on R2 are a single color, but there are some that need two colors. One example is the angle cylinder. To paint this I started with a primer coat of white. I then roughly masked off the area that will be blue and then sprayed the silver parts. With the silver dry, I carefully masked off the silver, and then sprayed the blue.


I followed a similar process for the ankle details. These need the tab on the end to be blue and also the recessed rectangle. This required some careful masking.


The horseshoes need the inside edge painted silver, so this also required some careful masking.


The power coupling were the hardest part to paint. I started with white primer and then the silver, but it would have been really hard to mask off for the blue. I ended up painting the blue by hand. I sprayed a little of the paint into a plastic cup and then painted it on with a brush. 


Saturday, July 17, 2021

Painting

 To paint R2, I used off the shelf cans of spray paint. 

For the white parts, and as a primer for all the other parts I used Rust-oleum Ultracover Paint+Primer Flat White.


For the silver parts I use Dupli-Color Chrome High Gloss. 


The trickiest color is the blue since it's hard to get a good sense of what the correct color is due to different paint jobs and lighting conditions in the movies. I ended up going with Dupli-Color Sonic Blue Pearl.


The Dupli-Color paints are automotive paint and can be found in auto-parts stores. The tricky part with these is that they are very sensitive to humidity. If it's to humid you will get cracking as the paint dries. I ended up doing most of the painting with these during the winter when the humidity was lower. 


Monday, July 12, 2021

Radar Eye

 For the Radar Eye I used a resin casting I purchased online, you can find the details in this post

The back of the part has four casing points on it that needed to be cut off. I did this with a Dremel and then did some sanding to cleanup that back. 


To attach the radar eye to the dome I drilled holes in the back and inserted some screws that I cut the heads off. These were glued in place with epoxy.


For the eye I used a plastic Christmas tree ornament. 


I put some painters tape on the ball and then used the resin piece to mark the size of the eye lens. I then cut this out with a Dremel. Finally I pained the inside of the lens with black spray paint. 


Here is the final product.


Monday, July 5, 2021

Dome Part 2


To assemble the dome I used the Flex-I-File liquid glue. I drilled some holes in the inner layer so they would be under the larger sections of the outer skin and the used the glue in these holes and around the edges to secure the layers together. 


The the bottom of the dome is a band that is painted blue. The tricky part of this is that it is hard to paint once in place, but once the bottom ring is attached there is no way to get the band on in one piece. I decided to paint everything first. Once painted I scrapped some of the paint off the dome ring so it I could get a good glue joint. I installed the blue band and then glued on the ring. 


There isn't much gluing surface on the bottom edge of the dome, so I also added a couple piece of scrap styrene around the inside of the dome to re-enforce it.