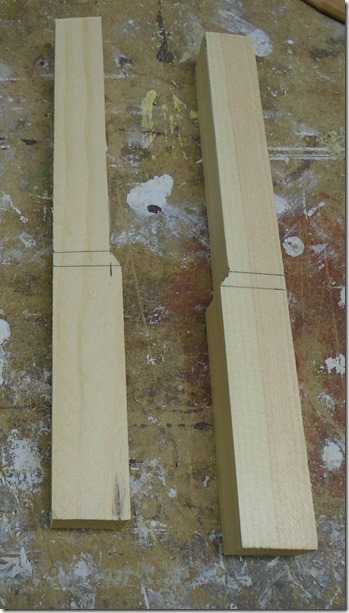
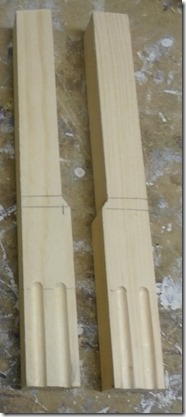
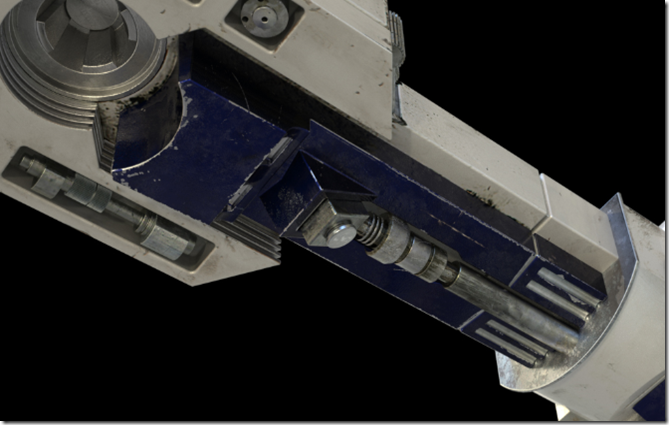
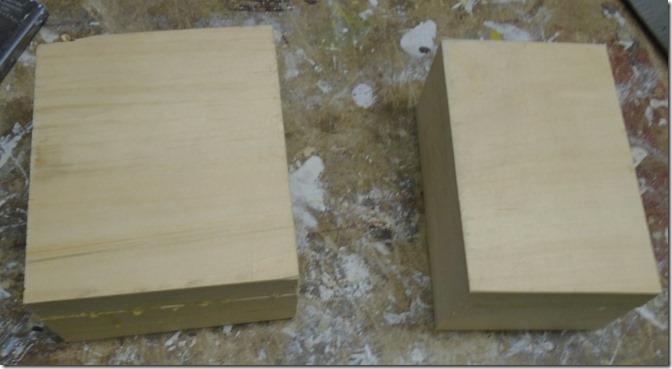
In previous posts I showed how I made the layers of the legs. I eventually glued these up to form the structure of the legs. With the legs glued up I decided to skin the edges of the legs with styrene like others have done. With a lot of work I probably could have gotten a smooth surface on the edges, but with the layers of plywood it would tend to crack through the paint, thus the reason for skinning. I decided not to skin the large surfaces of the leg because I felt I could get a nice enough finish without it, but I have seen people who skinned the entire leg.
To start the skinning process I used wood filler to fill any voids in the legs and then sanded everything smooth. I used fairly thin styrene for the skin so I didn’t want any defects in the wood to show through.
I cut a piece of styrene the rough size needed for the bottom portion of the leg. I started with just one side, putting the seam at the very bottom point where it won’t be seen. The piece can be a little bigger the necessary, it can be trimmed afterwards.
To attach the styrene I found the best adhesive was two-part epoxy, I couldn’t find anything else that held as well. I first roughed up the back of the styrene with some sand paper and then coated the wood with a smooth layer of epoxy. Since the epoxy has a fairly short working time I did this in a couple steps. For this part I started with just the side flat area, and then did the angled part as a second step. I taped the styrene in place to keep it from moving while I clamped it.

I firmly clamped it with a piece of plywood between the clamp and the styrene to keep the clamps from damaging the surface. Once that section was dry I moved on to the part that went down the angled part, you can see it sticking out in the picture below.

I used this same process for the rest of the leg. I did the flat side as one piece and cut the groove afterwards. I did a second piece on the slope going up to the shoulder, and the on long piece going all the way around the shoulder. The flats I did with one glue up, but the curve I did little by little so I had place to clamp it.

Once everything was glued up and dry I trimmed any overhang of the styrene with an X-acto knife and then sanded the edges. There were a few places where the styrene did not adhere completely along the edges so for these I used a toothpick to put in some more epoxy and taped it down to dry. The epoxy works good for this since any the squeezes out can easily be sanded smooth.